Drip Irrigation for Raised Beds: A Beginner's Guide
Photo by USDAgov, Public domain, via Wikimedia Commons
Photo by USDAgov, Public domain, via Wikimedia Commons
Disclosure: this article may contain affiliate links.
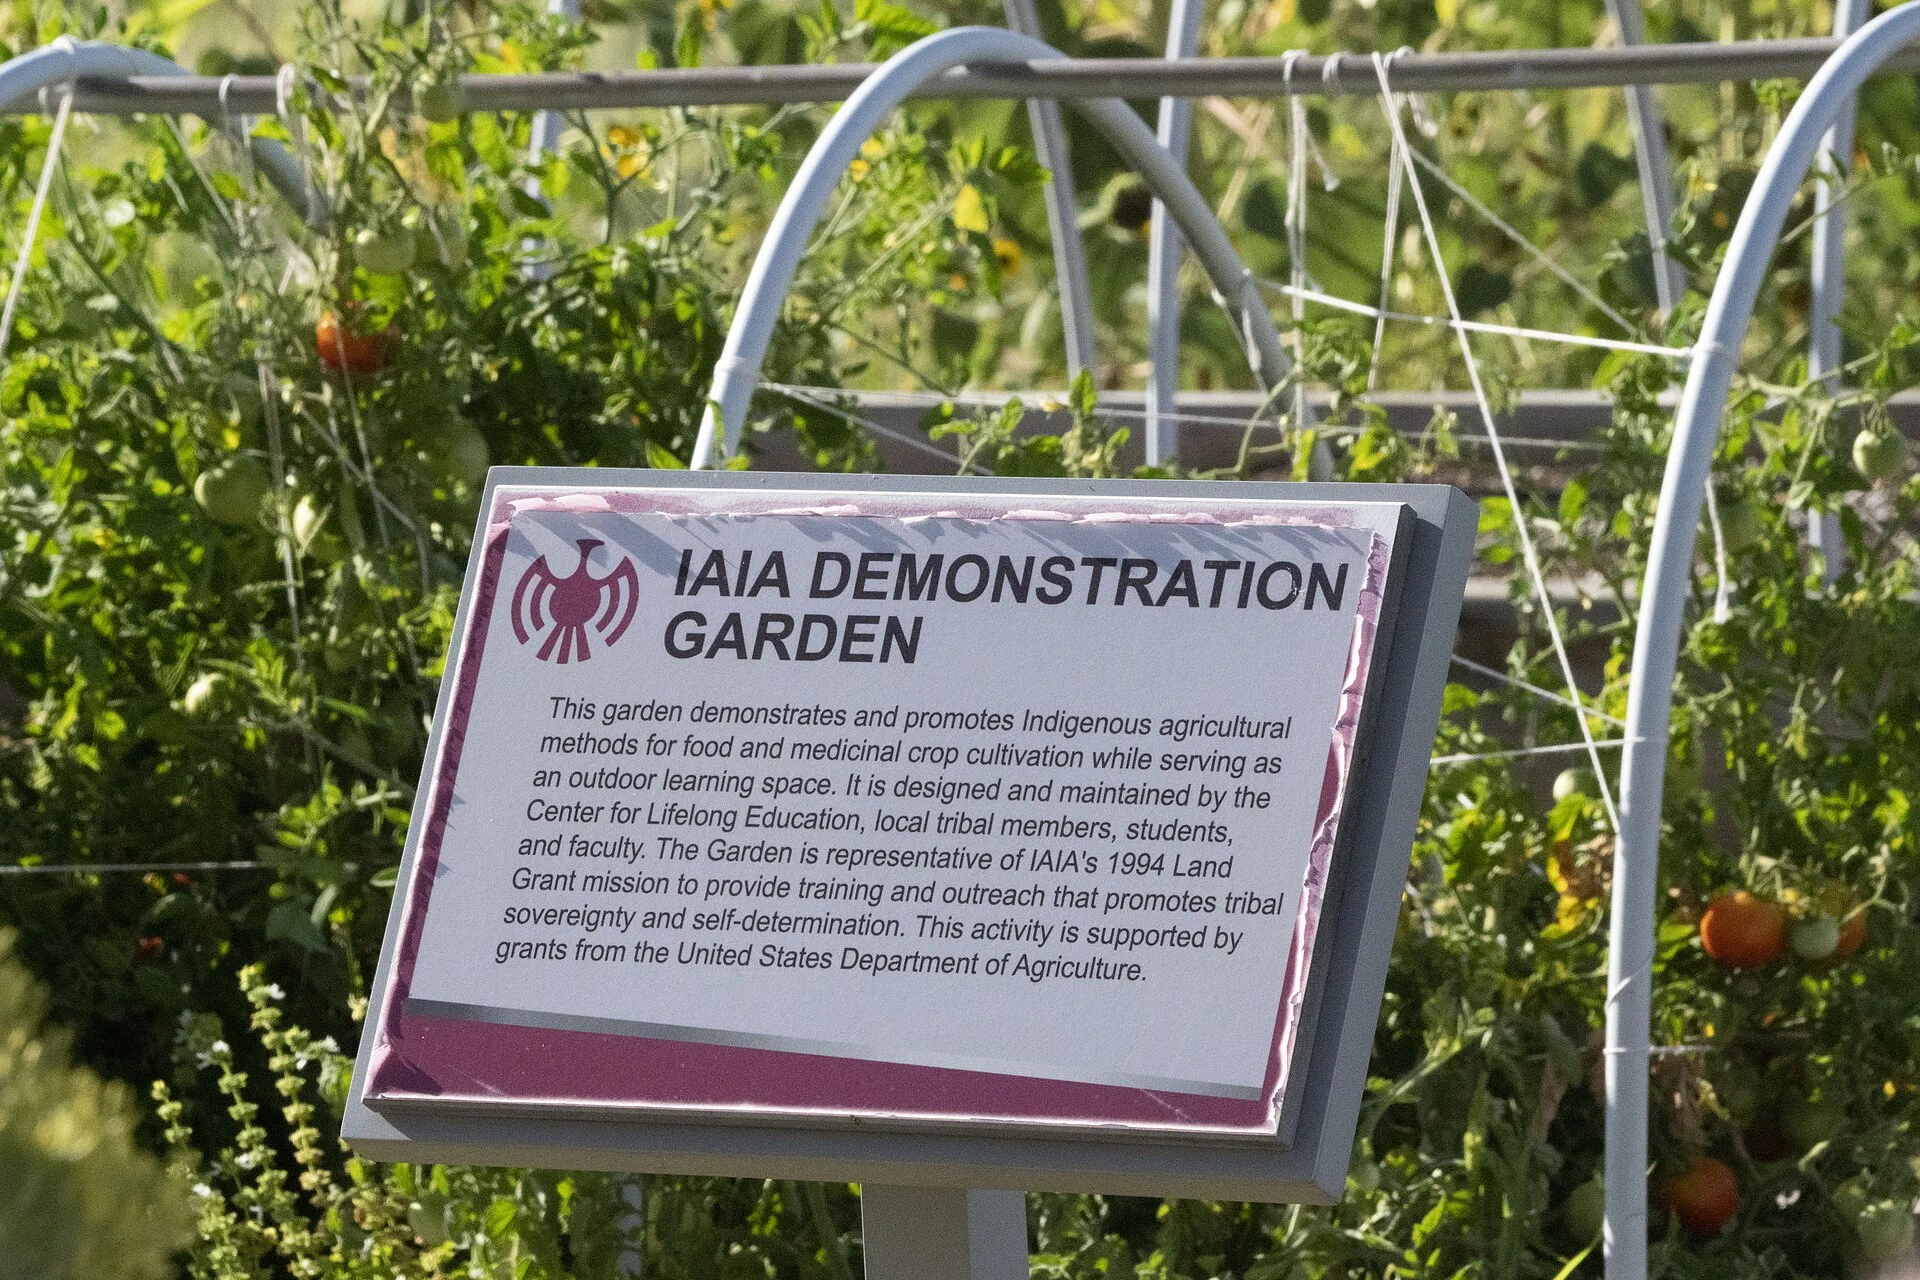
Photo by USDAgov, Public domain, via Wikimedia Commons
Installing drip irrigation for raised beds is the single most effective upgrade you can make for a home garden, transforming a time-consuming chore into a set-and-forget system that maximizes plant health. By delivering water directly to the root zone at a slow, steady rate, you eliminate the waste associated with overhead sprinklers, reduce the risk of fungal diseases, and save significant amounts of water. For beginners, the concept might seem intimidating, but modern kits make installation straightforward, often requiring only a handful of basic tools and a few hours of work.
The primary benefit of this method is precision. In a raised bed, soil structure is often lighter and drains faster than in-ground soil. Overhead watering can cause surface runoff or leave deeper roots dry. Drip systems ensure that every drop reaches where it is needed most. This guide will walk you through selecting the right components, planning your layout, and maintaining your system to ensure your tomatoes, peppers, and herbs thrive throughout the growing season.
Why Choose Drip Irrigation Over Sprinklers?
Before diving into the setup, it is helpful to understand why drip systems outperform traditional methods in a raised bed context. The efficiency gains are both environmental and horticultural.
Water Conservation and Efficiency
Traditional sprinklers are notoriously inefficient. A significant portion of water is lost to evaporation before it ever reaches the soil, especially on hot, windy days. Drip irrigation delivers water at a low pressure directly to the base of the plant. Studies by the EPA suggest that drip systems can reduce water use by 30-50% compared to spray systems. For a home gardener, this translates to lower utility bills and less strain on local water resources during drought conditions.
Improved Plant Health
Overhead watering wets the foliage, creating a humid environment that encourages fungal diseases like powdery mildew, blight, and leaf spot. By keeping the leaves dry, drip irrigation for raised beds acts as a preventive health measure. Furthermore, consistent soil moisture levels prevent the stress fluctuations that cause issues like blossom end rot in tomatoes or splitting in cucumbers.
Time Savings
Once installed, a drip system requires minimal daily attention. You simply check the system periodically for clogs or leaks. You can automate the watering schedule with a timer, freeing up your evenings for other activities.
Essential Tools and Components for Your System
You do not need a degree in plumbing to install a reliable system. However, choosing quality components is crucial to avoid leaks and inconsistent flow. While there are many options on the market, certain brands are widely recognized for their reliability and ease of use.
The Core Components
- Pressure Regulator: Raised beds are often fed by municipal water pressure, which is too high for drip lines. A pressure regulator reduces the incoming pressure to a safe level (usually around 25 PSI) to prevent bursting tubes or blowing out emitters.
- Filter: A simple screen or disc filter prevents debris from clogging emitters. This is critical for longevity.
- Mainline Tubing: Usually 1/2-inch polyethylene tubing, this runs along the length of the bed to supply water to the lateral lines.
- Emitters: These are the devices that attach to the tubing and release water. Options include fixed-flow emitters (e.g., 1 gallon per hour) and adjustable bubblers for thirsty plants.
Recommended Brands and Tools
For beginners, buying a pre-packaged kit is often the most cost-effective and error-proof route. Brands like Rain Bird and Orbit offer comprehensive kits that include the pressure regulator, filter, tubing, and emitters. Rain Bird is particularly well-regarded for commercial-grade reliability that translates well to home gardens. Orbit offers user-friendly kits with easy-to-install connectors.
If you prefer to build your own system, you will need specific tools:
- Tubing Cutter: A dedicated cutter ensures clean cuts that seal properly. Orbit and Hunter make simple, affordable cutters.
- Awl or Hole Punch: You need to punch holes in the mainline tubing to insert emitters. A simple metal awl works, but a dedicated punch tool is faster and cleaner.
- Timer: To automate the process, a battery-operated timer is essential. Orbit and Rain Bird both produce reliable timers that connect directly to your hose spigot.
Planning Your Raised Bed Layout
Before you buy any tubing, you must plan the flow. A poorly planned system leads to dry spots in one corner and waterlogged soil in another.
Determine Flow Rates
Standard drip emitters typically deliver 1, 2, or 4 gallons per hour (gph). The number of emitters you can place on a single line depends on the total flow capacity of your water source and the pressure regulator. For a typical home garden hose, a limit of 8-12 emitters per line is a safe starting point to ensure even pressure.
Layout Strategy
- Mainline: Run the 1/2-inch mainline along the longest side of the bed.
- Laterals: For wider beds, you may need a second line running parallel to the mainline, or you can use “spaghetti tubing” (1/4-inch tubing) to branch off from the mainline to individual plants.
- Emitter Placement: Place one emitter for every 1-2 feet of row, depending on the plant spacing. Tomatoes generally need a higher flow rate (2-4 gph) than lettuce (1 gph).
Step-by-Step Installation Guide
Once you have your plan and materials, installation is a manageable weekend project. Follow these steps to ensure a leak-free system.
- Prepare the Water Source: Attach the pressure regulator and filter to your outdoor spigot. Then, connect your timer to the outlet of the filter. This sequence ensures that filtered, pressure-regulated water is delivered to the timer and subsequently to the garden.
- Lay the Mainline: Unroll the 1/2-inch tubing along the planned route. Secure it to the soil or bed frame using stakes or clamps. Ensure the tubing is not kinked.
- Install Emitters: Using your hole punch or awl, make a hole in the mainline at each plant location. Insert the emitter barb firmly into the hole. For adjustable emitters, set them to the desired flow rate before inserting.
- Connect Laterals (if applicable): If you are using 1/4-inch spaghetti tubing to reach plants further from the mainline, connect them to the mainline using barbed connectors. Run the thin tubing to the plant base and secure the end with a stake or emitter cap.
- Test the System: Turn on the water. Check every connection for leaks. Adjust emitters if necessary. If you see water spraying out of a connection, turn off the water and re-seat the tubing or connector.
- Mulch Over the Lines: Once the system is tested, cover the tubing with a layer of organic mulch, such as straw or wood chips. This protects the tubing from sunlight degradation, keeps the soil moist, and hides the unsightly plastic. This step is crucial for long-term durability of your drip lines and aesthetics.
Maintenance and Troubleshooting
Even the best systems require occasional attention. Ignoring small issues can lead to plant death or water waste.
Checking for Clogs
If a plant looks wilted while its neighbors are thriving, the emitter may be clogged. Remove the emitter, flush it with water, and reattach. Installing an inline flush valve at the end of the mainline allows you to periodically open the line and flush out sediment that accumulates over the season.
Winterizing the System
In climates with freezing temperatures, you must drain the system before the first hard frost. Water expanding in frozen tubing will burst the lines. Disconnect the system from the spigot, open the ends of the tubing to drain, and store the components indoors if possible. If you cannot remove the tubing, ensure the timer is set to “off” and disconnect the water supply to prevent pressure buildup.
Upgrading for Automation
If you find yourself manually turning the system on and off, consider upgrading to a more advanced timer with rain sensors. This prevents the system from running during rainfall, further conserving water. For those looking to expand their garden, adding a second zone for different plant needs allows you to tailor watering schedules for herbs versus vegetables.
Frequently Asked Questions
Do I need a pressure regulator for drip irrigation?
Yes, you almost always need a pressure regulator for drip irrigation. Standard household water pressure is typically too high for drip components and can cause emitters to spray rather than drip, or even burst the tubing. A regulator ensures a consistent, low pressure suitable for slow release.
How many emitters do I need per raised bed?
The number of emitters depends on your plant spacing and the type of plants. A good rule of thumb for a 4x8 foot raised bed is to start with 8-12 emitters, placing them at the base of each plant or every 12-18 inches. High-water crops like tomatoes may need two emitters per plant, while smaller herbs may need only one shared between two plants.
Can I use drip irrigation for all vegetables?
Drip irrigation is suitable for almost all vegetables, including tomatoes, peppers, squash, cucumbers, and lettuce. However, some densely planted crops like spinach or radishes may benefit from a “sprayer” attachment on the drip line, which provides a gentle mist over a small area, rather than individual point emitters.
How do I know if my drip system is working correctly?
You can check performance by digging a small hole near an emitter after the system has run for 30-60 minutes. The soil should be moist at the depth of the root zone. If the water pools on the surface or the deep soil remains dry, you may need to adjust the flow rate or emitter placement.