How to Grow Microgreens at Home
Learning how to grow microgreens at home gives you a reliable supply of fresh, nutrient-dense vegetables in under two weeks. You do not need a greenhouse…
Learning how to grow microgreens at home gives you a reliable supply of fresh, nutrient-dense vegetables in under two weeks. You do not need a greenhouse…
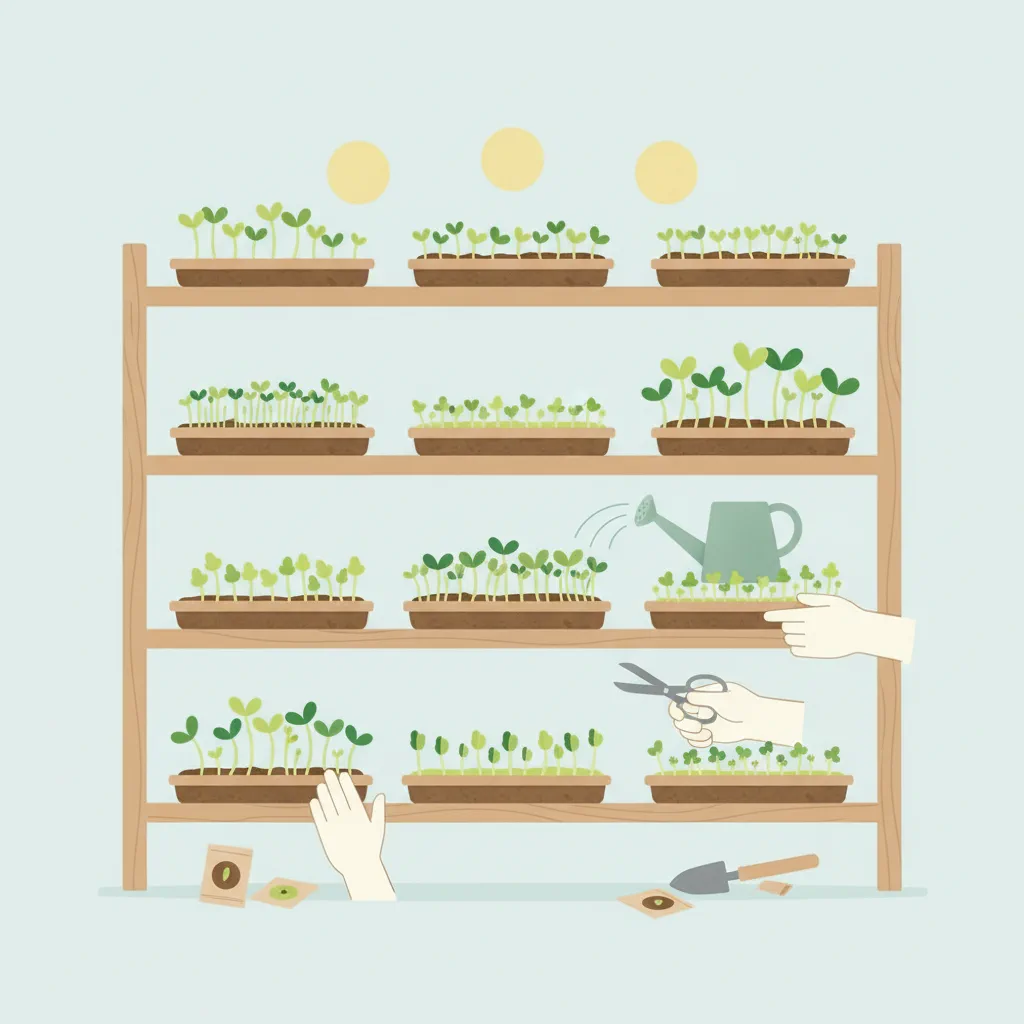
Learning how to grow microgreens at home gives you a reliable supply of fresh, nutrient-dense vegetables in under two weeks. You do not need a greenhouse, outdoor garden space, or advanced horticulture training to produce steady harvests. By following a controlled sowing schedule, managing moisture carefully, and providing consistent light, you can cut ready-to-eat crops from kitchen counter trays with predictable timing. This guide walks you through every stage of the process, from selecting the right seeds to troubleshooting common failures, so you can start harvesting reliably from day one.
Disclosure: this article may contain affiliate links.
What Supplies Do You Need to Start Growing Microgreens at Home?
Keeping your setup simple reduces variables and helps beginners avoid preventable mistakes. You do not need expensive hydroponic rigs or climate-controlled cabinets to grow microgreens at home successfully. Start with a few reliable, widely available supplies that support steady germination and clean harvesting.
- Standard 1020 Seed Starting Trays: These plastic trays measure ten by twenty inches and provide the exact footprint needed for consistent seed density. Jarden manufactures durable, food-safe versions that stack neatly for storage and drain reliably when paired with standard flat inserts.
- Light Potting Mix or Soilless Medium: Microgreens require excellent drainage and low nutrient density to prevent root suffocation. FoxFarm Happy Frog Potting Soil works well when mixed fifty-fifty with coconut coir, or you can use plain unscented paper towel layers for completely soilless germination.
- Certified Food-Grade Seeds: Always purchase seeds labeled explicitly for sprouting or microgreen production. Reputable suppliers like Johnny’s Selected Seeds and Baker Creek Heirloom Seeds offer pea, sunflower, radish, and broccoli varieties that germinate cleanly without chemical coatings or hard shells that delay emergence.
- Misting Bottle and Fine-Mesh Cover: A standard spray bottle keeps the seedbed consistently moist without displacing seeds. A second tray placed upside down, or a lightweight hardware mesh screen, creates a humid microclimate until the first leaves emerge.
- Basic LED Grow Light: While many varieties thrive in a bright east-facing window, a reliable full-spectrum LED panel ensures consistent photoperiods regardless of seasonal daylight changes. Standard shop-grade LEDs with adjustable brightness work perfectly when positioned close to the canopy.
How to Prepare Seeds and Trays for Germination
Proper seed preparation significantly reduces germination failures and keeps your tray clean throughout the growth cycle. Before sowing, rinse your seeds thoroughly under cool water to remove dust, chaff, or debris that can trap moisture against the seed coat and trigger mold. Fill your chosen tray with roughly one inch of pre-moistened growing medium, pressing it down lightly to remove large air pockets without compacting it. Spread the seeds evenly across the surface, aiming for a dense but non-overlapping layer that allows each seed to breathe and establish its root system independently. If you are growing microgreens at home for the first time, radish and pea seeds work best because they tolerate heavier sowing rates and resist damping off. Cover the tray with your mesh screen or inverted tray to lock in humidity. Place the setup in a cool, dark spot for the first forty-eight hours, which encourages strong root development before light exposure triggers stem elongation. Some growers lightly mist the top of the cover during this phase to maintain a damp environment, but avoid adding water directly to the seeds until they crack open.
How to Water and Mist Microgreens Without Drowning Them
Water management is the single most important factor in keeping your crop alive and preventing fungal outbreaks. Overwatering suffocates developing roots and invites mold, while underwatering stalls growth entirely. Switch to a bottom-watering method as soon as the first shoots break through the surface. Remove the humidity cover and place the entire tray inside a larger shallow pan or baking dish filled with one inch of room-temperature water. Allow the growing medium to wick moisture upward through capillary action for fifteen to twenty minutes, then drain any excess water completely. This approach keeps the seed coats and lower stems dry, which dramatically reduces fungal risk. If you prefer top watering, use a fine mist setting and apply water only when the soil surface looks matte and dry to the touch. Maintain ambient temperatures between sixty-five and seventy-five degrees Fahrenheit, as cooler air slows evaporation and increases moisture retention in the tray. Consistent airflow from a small oscillating fan placed six feet away further accelerates surface drying and strengthens developing stems.
When and How to Harvest Microgreens for Maximum Yield
Timing your harvest determines texture, flavor intensity, and refrigerated shelf life. Most microgreen varieties reach their optimal harvest window between day seven and day fourteen, depending on the species and ambient temperature. Look for the emergence of the first set of true leaves, which appear slightly smaller and more textured than the initial round cotyledons. Harvest by gripping a small section of greens at the soil surface and lifting gently with kitchen shears, cutting just above the root line to avoid pulling soil into your blade. Lay the harvested greens flat on a clean kitchen towel or paper plate to air dry for thirty minutes before storing them in a vented container in the refrigerator. Properly dried and stored microgreens maintain crispness for five to seven days. Rotating your trays weekly ensures a continuous supply of fresh greens without overwhelming your storage space or forcing you to rush immature crops.
How to Troubleshoot Mold and Damping Off in Microgreens
White fuzz or black, waterlogged stems usually indicate poor airflow or excess moisture, not contaminated soil. Damping off occurs when fungal spores thrive in stagnant, humid conditions where seeds remain wet for too long. Improve air circulation by placing a small oscillating fan six to eight feet away from your trays, running it on low for a few hours each day. This gentle breeze strengthens stems and accelerates surface drying without blowing seeds out of the medium. If you notice early mold, remove affected sections immediately and increase the frequency of tray rotation to ensure even light distribution. Never reuse growing medium from a failed batch, as spores can linger in the soil matrix and reinfect fresh seeds. Starting with properly rinsed seeds, using sterile trays, and avoiding heavy top-watering will keep your environment inhospitable to fungal growth. Consistent spacing during sowing also prevents overcrowding, which is a primary trigger for humidity buildup and stem weakness.
Explore seasonal planting calendars for indoor herbs
Frequently Asked Questions
How long does it take to grow microgreens at home? Most varieties are ready to harvest between seven and fourteen days after sowing. Fast growers like radish and arugula often finish in five to seven days, while denser crops like broccoli and peas typically require ten to fourteen days.
Can I reuse the same potting soil for multiple batches? It is not recommended to reuse soil from microgreen trays because nutrient depletion and lingering fungal spores can compromise future crops. Instead, refresh your medium with a clean blend of potting soil and coconut coir, or switch to a soilless paper towel method for better hygiene.
Do microgreens need grow lights to succeed indoors? Many varieties will develop adequately in a bright south or east-facing window, but supplemental lighting prevents stretching and ensures even color development. A standard LED grow light positioned six to twelve inches above the tray for twelve to sixteen hours daily yields the most consistent results.
Why are my microgreens turning yellow or falling over? Yellowing and weak stems almost always indicate insufficient light or excessive humidity. Move the tray closer to your light source, improve airflow with a fan, and ensure you are bottom-watering rather than misting heavily after germination.
Conclusion
Starting a microgreen setup takes minimal space and delivers reliable harvests throughout the year. By sticking to certified seeds, managing moisture carefully, and providing consistent light, you can avoid the common pitfalls that derail beginners. Experiment with different varieties to discover which flavors and textures best match your cooking routine, and keep your harvesting schedule steady for a continuous supply. With a few basic supplies and a little patience, fresh microgreens will become a regular, low-effort addition to your home kitchen.